


Curtain Installation Guide: Achieve Perfect Window Dressing
Choosing the right curtains for your Columbia home is only half the challenge—the true transformation happens when you hang them with care and precision. For DIY-minded homeowners, getting every measurement and mark right means your window treatments look polished and function seamlessly. This guide shares step-by-step advice so your curtains fit beautifully, function smoothly, and give your space a finished, stylish touch. Bold results start with accurate measurements and careful installation.
Table of Contents
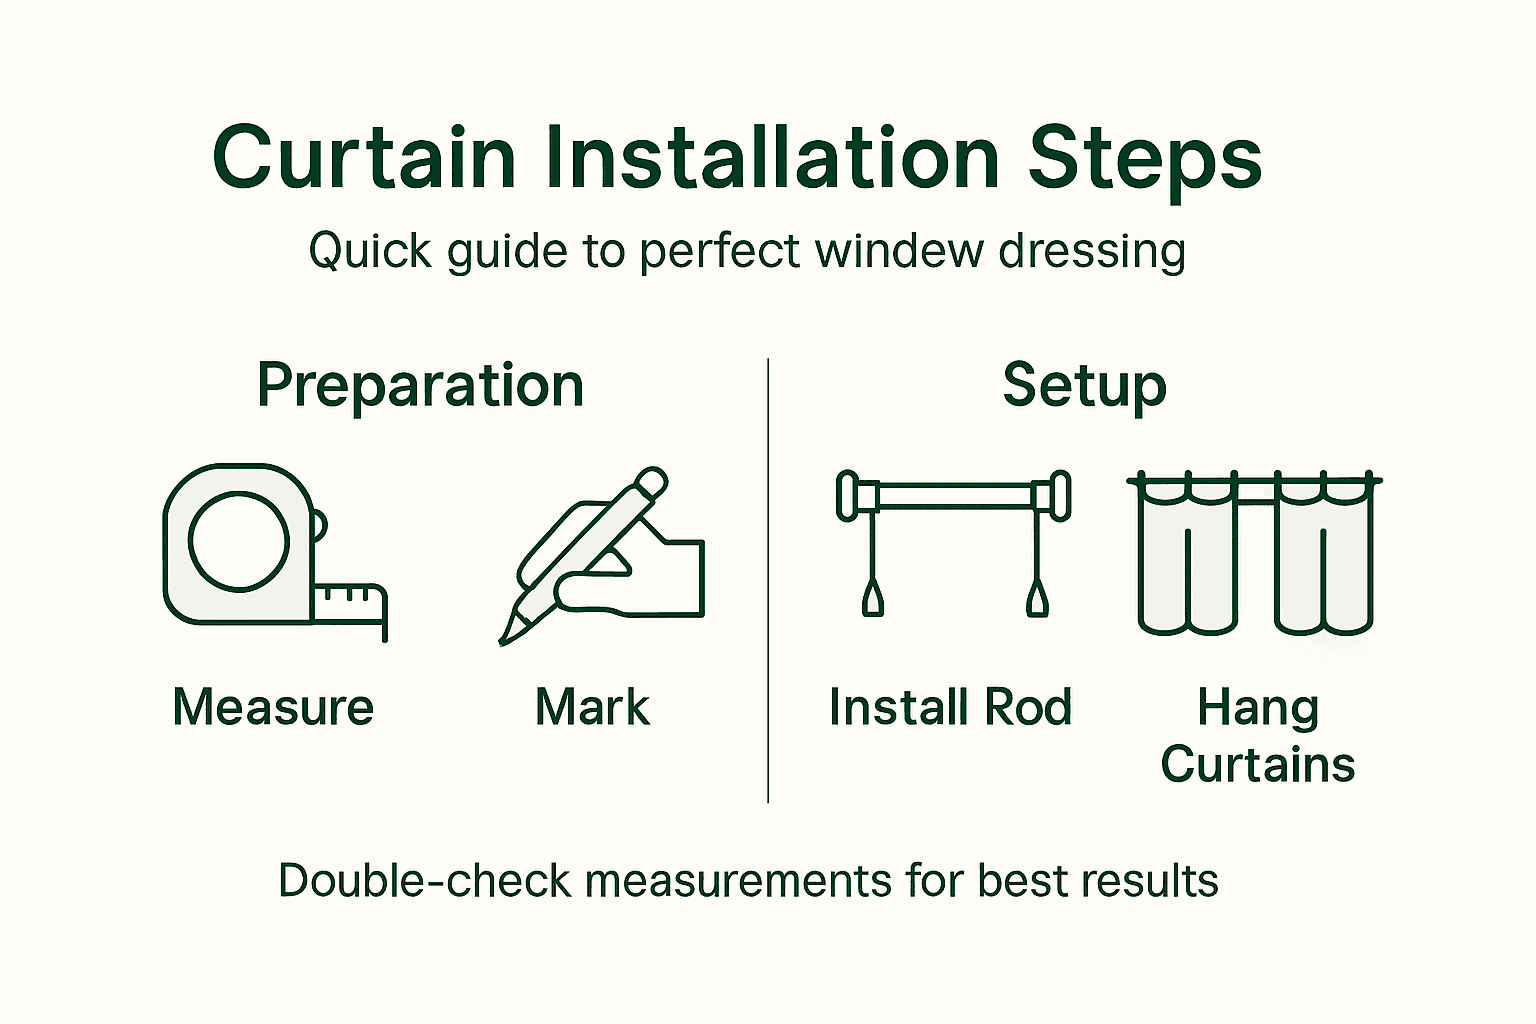
- Step 1: Measure and Mark Your Hanging Area
- Step 2: Install Curtain Rods Securely
- Step 3: Hang Curtains Evenly on Rods
- Step 4: Check Alignment and Finalize Setup
Quick Summary
| Key Point | Explanation |
|---|---|
| 1. Accurate measurements are vital | Measure the window width and height at three points to ensure a proper fit for curtains. |
| 2. Use wall studs for installation | Secure brackets to wall studs for enhanced stability; use heavy-duty anchors if studs aren’t available. |
| 3. Hang curtains evenly | Start from the center and work outward to ensure symmetrical distribution across the rod. |
| 4. Finalize alignment checks | Conduct a visual and level check to confirm that rods and panels are straight and even. |
| 5. Adjusting minor imperfections is key | Make adjustments early on to avoid visible gaps or bunching of curtains once they’re hung. |
Step 1: Measure and Mark Your Hanging Area
Accurate measurements are the foundation of a successful curtain installation. Before you pick up a drill or buy fabric, you need to understand exactly what space you’re working with. This step ensures your curtains fit perfectly and hang with the polish you’re aiming for.
Start by identifying where your curtain rod will mount. Most homeowners in Columbia choose to install rods either inside the window frame or on the wall above it. The placement you select affects how much of your window you’ll cover and how your room feels.
Here is a comparison of common curtain rod mounting methods and their effects:
| Mounting Location | Visual Impact | Light Coverage | Recommended Situations |
|---|---|---|---|
| Inside window frame | Minimal, sleek profile | Limited, edges exposed | Small rooms, modern aesthetics |
| Above window frame | Bold, extends window | Maximum, full coverage | Large rooms, thermal comfort |
Gather these tools first:
- Measuring tape (a 25-foot tape works best for larger windows)
- Pencil for marking
- Level tool to ensure horizontal accuracy
- Masking tape if you prefer removable marks
Measure your window width at three points: the top, middle, and bottom. Windows aren’t always perfectly square, and these measurements reveal any irregularities. Write down all three numbers so you can select the right curtain width.
For height, measure from the top of the window frame to your desired curtain length. Most people prefer curtains that either kiss the floor or end just above the baseboard. Proper window sizing helps ensure curtains function correctly for both aesthetics and thermal comfort.
Now comes the marking part. Use a pencil to lightly mark your mounting points on the wall. If you’re placing brackets above the window, mark them at least 8 to 12 inches above the frame. Step back and use your level to confirm the marks are perfectly horizontal before you proceed.
Mark mounting points lightly in pencil—you’ll cover them once installation is complete, and light marks won’t show if you make adjustments.
Double-check your measurements one more time. Have someone else verify them if possible. Precision now prevents frustration during installation and ensures your finished curtains look intentional and polished.
Pro tip: If your window frame is uneven or your wall isn’t perfectly straight, measure from the top and bottom of where you want the rod to sit, then make small adjustments to accommodate the space—real walls rarely cooperate perfectly, and the best installations account for this reality.
Step 2: Install Curtain Rods Securely
This step transforms your marks into a stable foundation for your curtains. A properly installed rod won’t sag, shift, or wobble when you open and close your curtains or when wind pressure affects them through the window.
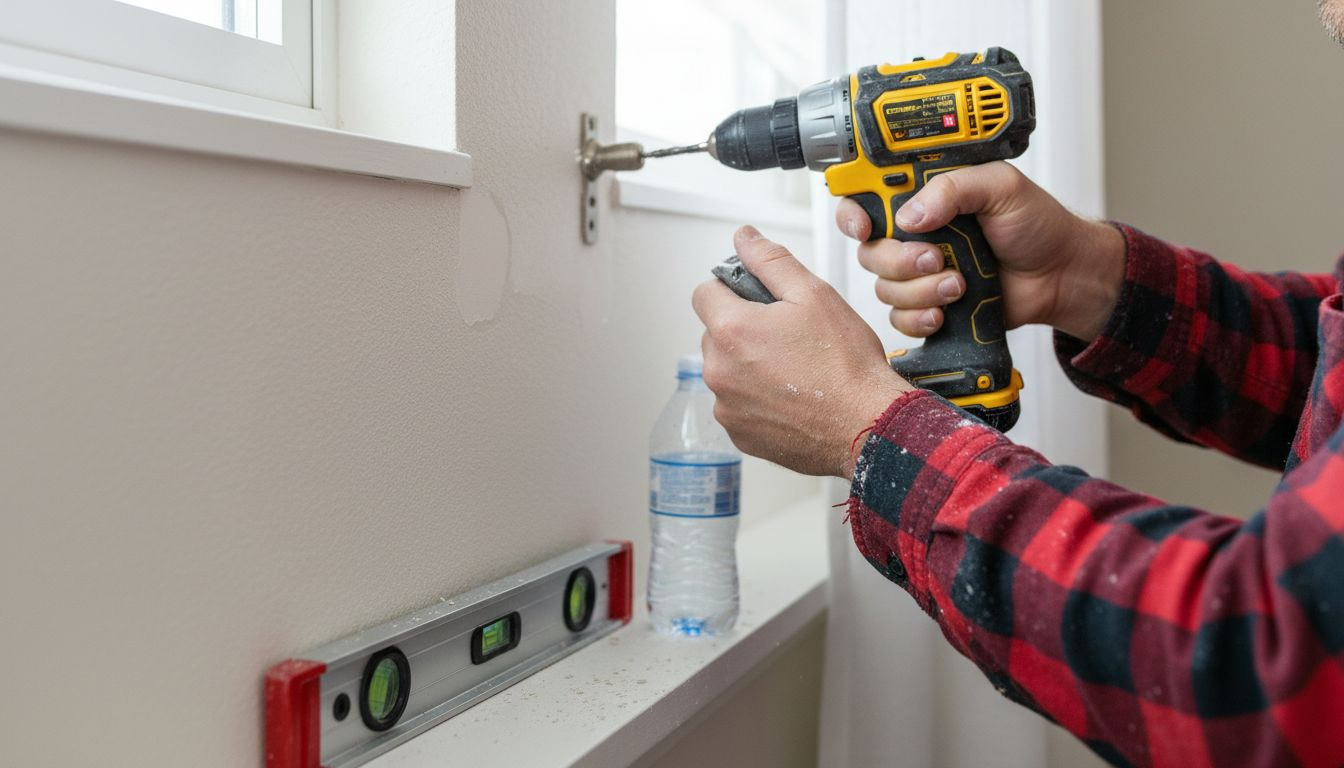
Start by locating the wall studs behind your drywall using a stud finder. Studs provide the strongest anchor points for your brackets. If your marks don’t align with studs, you’ll need to use heavy-duty wall anchors rated for your curtain weight.
Here’s the installation process:
- Pre-drill pilot holes at your marked locations to prevent drywall cracking
- Insert anchors into the holes if you’re not hitting studs
- Screw brackets firmly into place, ensuring they’re level
- Allow adhesive to cure fully if using expanding anchors (typically 24 hours)
When selecting hardware, choose brackets that match your rod diameter and weight capacity. Mechanically secure fastening methods ensure long-term system integrity and resistance to environmental loads like wind and the mechanical stress of opening and closing curtains.
Tighten all bolts and screws completely. Loose connections are the most common reason curtain rods fail. Give each bracket a firm push to confirm it’s solid before moving forward.
A curtain rod failure isn’t just annoying—it damages your walls and can injure someone. Spend extra time verifying that everything is rock-solid.
Once brackets are installed, slide your rod through and test the fit. The rod should sit level and feel completely stable. If anything flexes or shifts, stop and reinforce that bracket before proceeding.
Pro tip: Test your bracket installation by hanging your full weight on the rod (carefully) before adding curtains—this reveals weak points immediately and gives you confidence the installation will hold up to daily use.
Step 3: Hang Curtains Evenly on Rods
This is where your curtains finally come to life on the rod. Hanging them evenly determines whether your window treatment looks polished or haphazard. The goal is symmetrical distribution where curtains drape uniformly across the entire width.
Start by preparing your curtains and rod setup. Lay your curtains flat and identify the top edge where hooks or rings will attach. Most curtain types include reinforced header areas designed for this purpose.
Begin hanging from the center of the rod and work outward:
- Attach the center curtain panel first to establish your midpoint
- Move to one side, spacing rings or hooks evenly along the header
- Repeat on the other side, maintaining consistent spacing
- Step back frequently to assess balance and adjust as needed
Proper spacing of curtain accessories like rings and hooks ensures curtains hang symmetrically and function smoothly. When weight is distributed evenly across the rod, your curtains will draw and close without binding or sagging.
Check that each panel hangs straight and at the same distance from the floor. Use a level if you have one, or simply step back and compare visually. Uneven hem lengths become obvious immediately and are frustrating to fix later.
If you’re using multiple panels, ensure the overlap at the center is equal on both sides. This overlap prevents light gaps when curtains are closed. Consistent panel spacing creates the professional appearance you’re aiming for.
Hanging curtains evenly takes patience, but skipping this step shows immediately every time someone looks at your window.
Once everything looks balanced, give the rod a gentle test by opening and closing curtains. They should glide smoothly without resistance or bunching. If panels bunch or catch, redistribute the hooks slightly until movement is fluid.
Pro tip: Hang your curtains slightly fuller than needed, then adjust—oversized panels are easier to redistribute than ones that are too sparse, and fullness actually conceals minor spacing imperfections while adding visual richness to your window.
Step 4: Check Alignment and Finalize Setup
You’re in the final stretch. This step ensures everything is level, straight, and ready for daily use. Taking time now prevents adjustments later and guarantees your installation looks intentional and professional.
Start with a visual inspection from multiple angles. Stand directly in front of your window, then move to the sides and from across the room. Different perspectives reveal alignment issues that aren’t obvious from one position.
Use your level tool to verify these key points:
- The curtain rod is perfectly horizontal
- Each curtain panel hangs straight without twisting
- Hems are even and at the same distance from the floor
- The overlap at the center (if applicable) is symmetrical
Check the alignment and straightness of your curtain setup using practical techniques to ensure both aesthetics and usability. Minor adjustments at this stage prevent frustration and maintain the polished appearance you’ve worked toward.
Open and close your curtains several times through their full range of motion. Listen for any grinding sounds or feel for resistance. Smooth operation indicates proper spacing and weight distribution.
Examine the brackets and hardware one final time. Make sure nothing is loose or protruding. Tighten any bolts that may have shifted during the hanging process.
Summarizing key alignment checks for a flawless curtain install:
| Aspect Checked | Why It Matters | Typical Issue Spotted |
|---|---|---|
| Rod horizontal | Prevents uneven curtains | Slopes, sag in middle |
| Panel straightness | Ensures professional look | Twisted, misaligned panels |
| Hem evenness | Clean finish near floor | Uneven lengths, visible gaps |
| Center overlap | Blocks light, balances look | Off-center overlap, light gap |
A perfect installation feels invisible to the user—curtains glide smoothly, hang evenly, and simply work without drama.
Step back and assess the overall appearance. Your curtains should enhance your window and frame it attractively. If you notice gaps, bunching, or uneven panels, make minor adjustments now rather than living with them.
Once everything looks and feels right, your installation is complete. Take a moment to appreciate the transformation. Your room now has polished, functional window treatments that you installed yourself.
Pro tip: Take before and after photos of your window—not only do they document your achievement, but comparing them helps you spot any subtle alignment issues you might have missed during installation.
Elevate Your Curtain Installation with Expert Fabric and Custom Solutions
Perfect curtain installation requires precision measurements, secure hardware, and beautifully crafted fabrics that fit your exact needs. As highlighted in the guide, challenges like uneven walls, fabric fullness, and balanced hanging can be frustrating without the right materials and expert support. At Beautiful Window Elgin, we understand that your goal is to create window treatments that not only function flawlessly but also bring a polished, elegant look to your home or workspace.

Discover our extensive collection of high-quality fabrics including cotton, embroidered, and jacquard satin that help you achieve the fullness and result you desire. Whether you are a DIY enthusiast or a professional seeking custom drapery, our personalized design consultations and custom appointment services are here to simplify your project from measuring to final setup. Don’t let improper fabric or hardware quality undermine your effort. Visit Beautiful Window Elgin now to explore our fabric selection and request samples that make your next curtain installation an effortless success.
Frequently Asked Questions
How do I measure my window for curtain installation?
To accurately measure your window for curtain installation, use a measuring tape to measure the width at three points: the top, middle, and bottom. This helps account for any irregularities in the window frame that could affect the fit.
What is the best height to install my curtain rod?
For optimal aesthetics and functionality, install your curtain rod 8 to 12 inches above the window frame. This placement allows for maximum light coverage and enhances the visual space of your room.
How can I ensure my curtain rod is level during installation?
To ensure your curtain rod is level, use a level tool after marking your mounting points on the wall. Adjust the marks if necessary to make sure the rod sits perfectly horizontal before you drill or install brackets.
What tools do I need for hanging my curtains?
You will need a measuring tape, a pencil, a level tool, and possibly a stud finder for securing brackets. Additionally, consider having masking tape for marking positions and a drill for installation.
How can I hang my curtains evenly on the rod?
Begin hanging curtains from the center of the rod and work outward to ensure even distribution. This method helps achieve a symmetrical look and prevents the curtains from bunching.
What should I do if the curtains don’t hang straight?
If your curtains don’t hang straight, first check the leveling of the rod and the panel alignment. Make minor adjustments to the hooks or rings to evenly distribute weight and achieve a polished look.
Recommended
- Why Custom Window Treatments Matter for Homes – Shop Designer Fabrics by the Yard | Curtains & Drapery
- 7 Essential Curtain Fabric Types List for Homeowners – Shop Designer Fabrics by the Yard | Curtains & Drapery
- Curtain Style Selection Process for Custom Drapery Success – Shop Designer Fabrics by the Yard | Curtains & Drapery
- 7 Essential Window Treatment Fabric Tips for Homeowners – Shop Designer Fabrics by the Yard | Curtains & Drapery